| Back | Main view | Parent doc
IMiS/Scan and/or IMiS/View
If you're looking for silent installation instructions please use this URL:
http://www.imaging4notes.com/imiskb.nsf/0e40fbffa6481dc9c1256aaf002f2e80/c3cb3a646ad62e8dc12574230034877e?OpenDocument
1. Select the appropriate installation package. You can choose between normal client and ++ client which includes image processing options and OCR client. Scanning stations require IMiS/Scan(++) to be installed, IMiS/View is required for accessing archived content and edit it without scanner interaction (annotations, image manipulation, etc)
2. Start your installation by doubleclicking installation .msi package or use right mouse button client and select Install. Follow the instructions from the installation package:
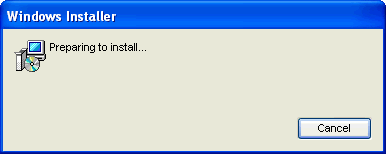
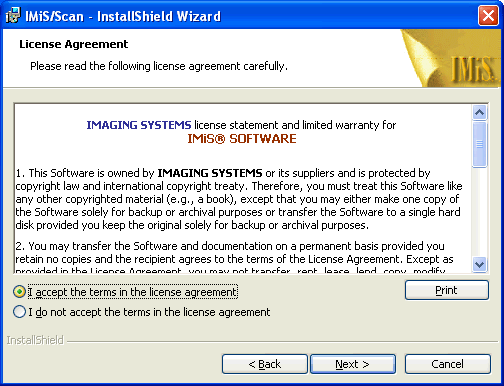
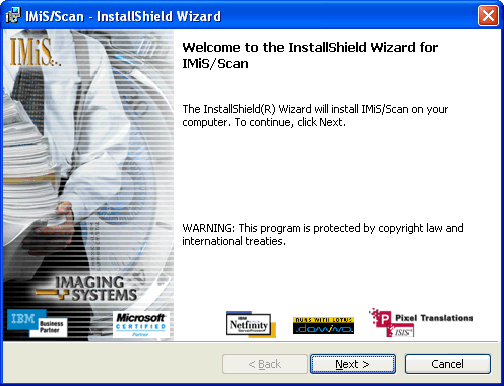 3. You must accept the Imaging Systems License Agreement in order to complete the installation:
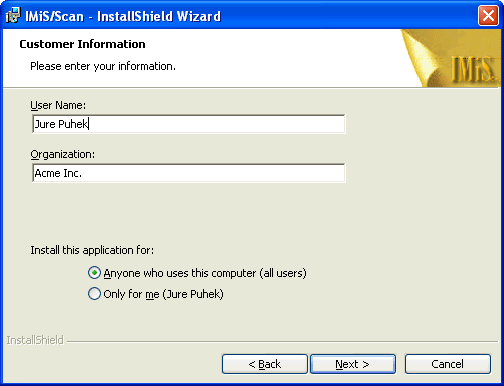
 4. Enter your name and organization:
 5. Select Complete or Custom installation type. Complete installation will not offer you the possibility of manually selecting options which should be installed. Also Custom installation type enables you to select a different installation directory:
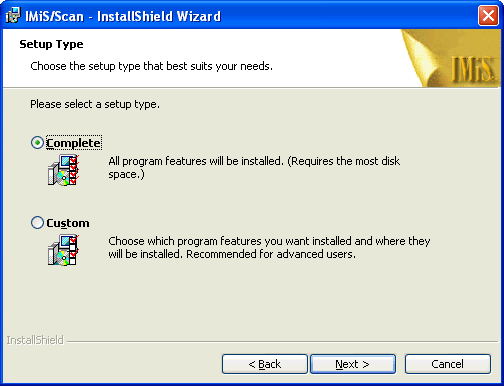
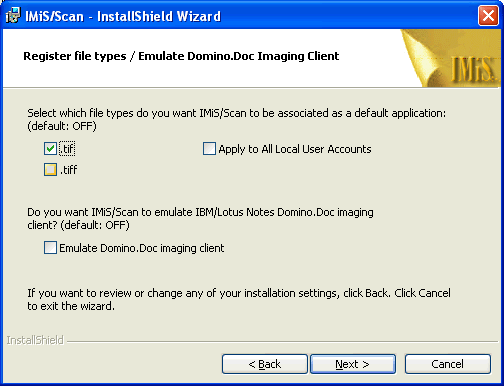
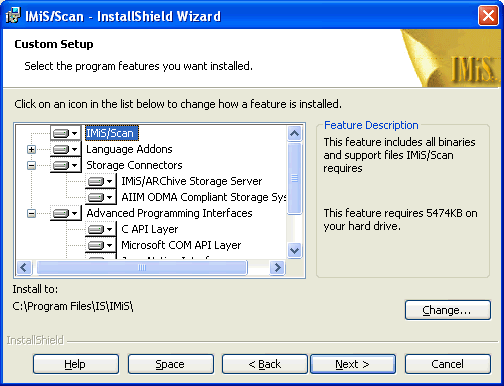 6. You can optionally choose to register IMiS/Scan or IMiS/View as a default viewer for .tif or .tiff image files. If used as a replacement for Lotus Domino.Doc Imaging Client you should check the option "Enable Domino.Doc imaging client":
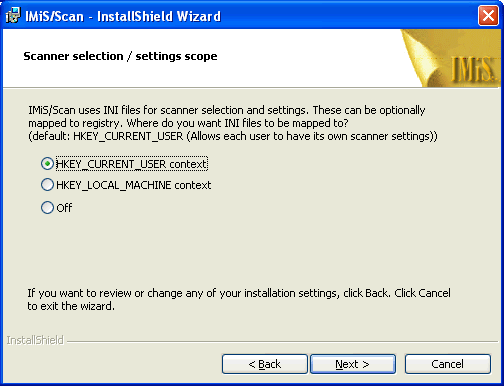
 7. IMiS/Scan uses .ini files for storing some configuration parameters. You can optionally map these .ini files to Windows registry which prevents the system from actually creating and using physical files.
HKEY_CURRENT_USER: Each user will have its own selected scanner and scanner settings
HKEY_LOCAL_MACHINE: Users will have to have edit permission on HKEY_LOCAL_MACHINE\SOFTWARE\IS\IniFiles (and subkeys) to make scanner selection and settings changes or they will be forced to use whatever the Administrator configured for this machine
Off: Use physical .ini files. Requires appropriate permission on %SystemRoot%\setscan.ini, %SystemRoot%\pixcache.ini and %SystemRoot%\imis.ini
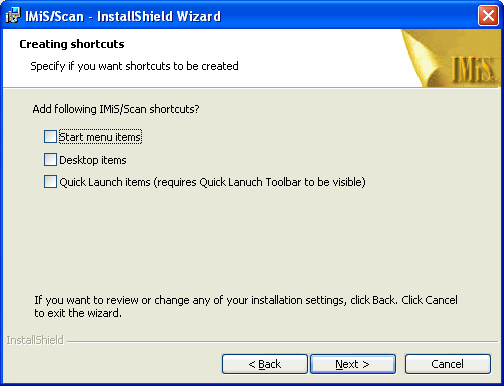
 8. Choose which shortcuts should be created:
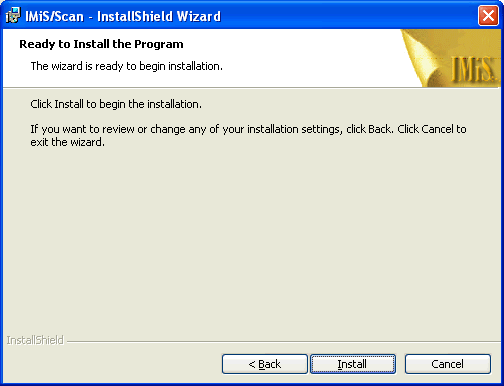
 9. Start the installation by pressing Install:
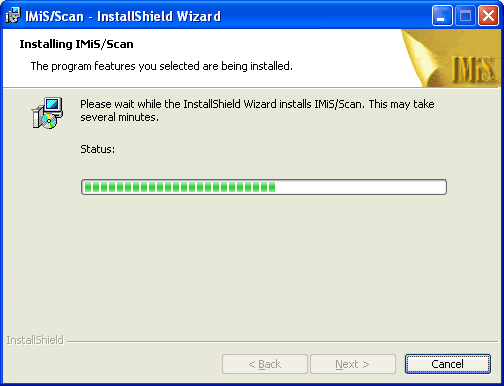
 10. Follow the installation progress...
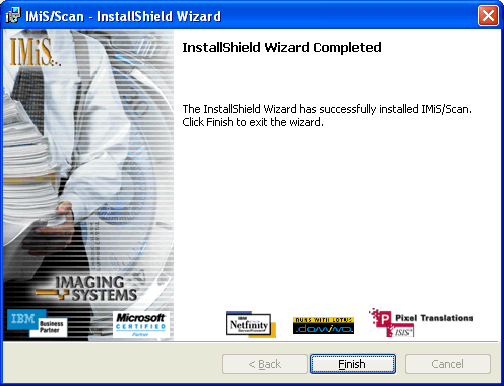
 11. When completed Finish button should appear. You have successfully installed IMiS/Scan or IMiS/View.
 IMiS/Scan (View) ++ clients:
IMiS/Scan (View) ++ clients include OCR client features. That is why installation includes OCR client installation. IMiS/OCR client is protected with Rainbow iKey USB Protection key which holds the license information. DO NOT INSERT THE iKey USB PROTECTION KEY into USB hub prior of installing IMiS/OCR Client. IMiS/OCR Client must be installed without iKey inserted into USB hub for installation to be successfully completed.
IMPORTANT: If you install IMiS OCR Client with different user name then the one that will use it, then some additional info has to be set in registry. When installing OCR client, registry key is entered in registry with "APP path" to OCR engine libs. If administrator installed it, then it is written only in administrator's "HKEY_CURRENT_USER\Software\IMiS\OCR Client". When you log in as ordinary user, just create this key in his "HKEY_CURRENT_USER\Software\IMiS\OCR Client\App Path" and set it to the path (by default value is "Program Files\IS\IMiS\engine"). It should start OCR engine correctly then. Scanning to Rich text field:
We simplified installation if you need only scanning as attachment to rich text field. In that case install IMiS/Scan and then you have to copy only 2 agents in target database. This 2 agents are (IMiS Attach) and (IMiS Scan for Attach). Then create smarticon on scanning station with formula:
@Command([ToolsRunMacro]; "(IMiS Scan for Attach)");
@Command([ToolsRunMacro]; "(IMiS Attach)")
For scanning to RT field, just put cursor in RT field and run smarticon. It will show IMiS/Scan interface and after saving image will be automatically attached to this field.
Users in Lotus Domino environment:
After successful installation of IMiS Client software, there are still few things to do. Run Lotus Notes and logon with user’s id.
- Add ‘IMiS Administration’ database on user’s Lotus Notes workspace, because some agents have to be run from this database.
- Activate user name in IMiS Administration database. See Settings for IMiS/Scan and IMiS/View Users for more details.
If IMiS/Scan client is installed, then you have to proceed with:
Run IMiS SCAN workstation\Enable agent. This agent writes some necessary parameters to NOTES.INI.
If IMiS/Scan (View) ++ client is installed:
From IMiS Administration database run an agent IMiS OCR workstation/Enable. IMiS/OCR Client can be used from IMiS Menu button in Domino application or as separate application by launching executable. In the first case image is loaded automatically from storage, in the case of running separately image is selected form file system or ODMA server via open file dialog.
| Back | Main view | Parent doc